
Setting up a WordPress website locally can be done in a few simple steps. Whether you want to test out new features, experiment with development projects, or built out a WordPress site before pushing it live, a local WordPress install can help you do that. Local installation of WordPress gives you the opportunity to quickly test plugins and themes without breaking anything on your live site. Let’s get started.
When you want to install WordPress locally, you need to get a local AMP stack set up on your machine. AMP stands for Apache, MySQL, PHP and these are software needed to mimic what a managed WordPress host would be running for you on its web server. There are a variety of methods you can use but the most common options include WAMP, XAMP, and MAMP.
If you’re looking for local server software to use for a Mac computer you should consider installing MAMP, short for Macintosh, Apache, MySQL, and PHP. It is incredibly user-friendly and easier to use.
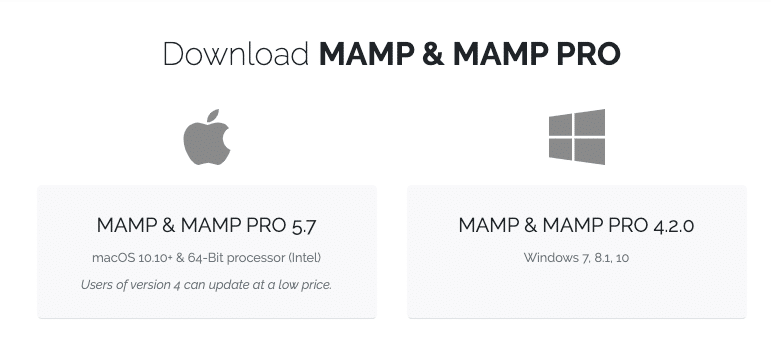
STEP 1: Download and install MAMP on your computer.
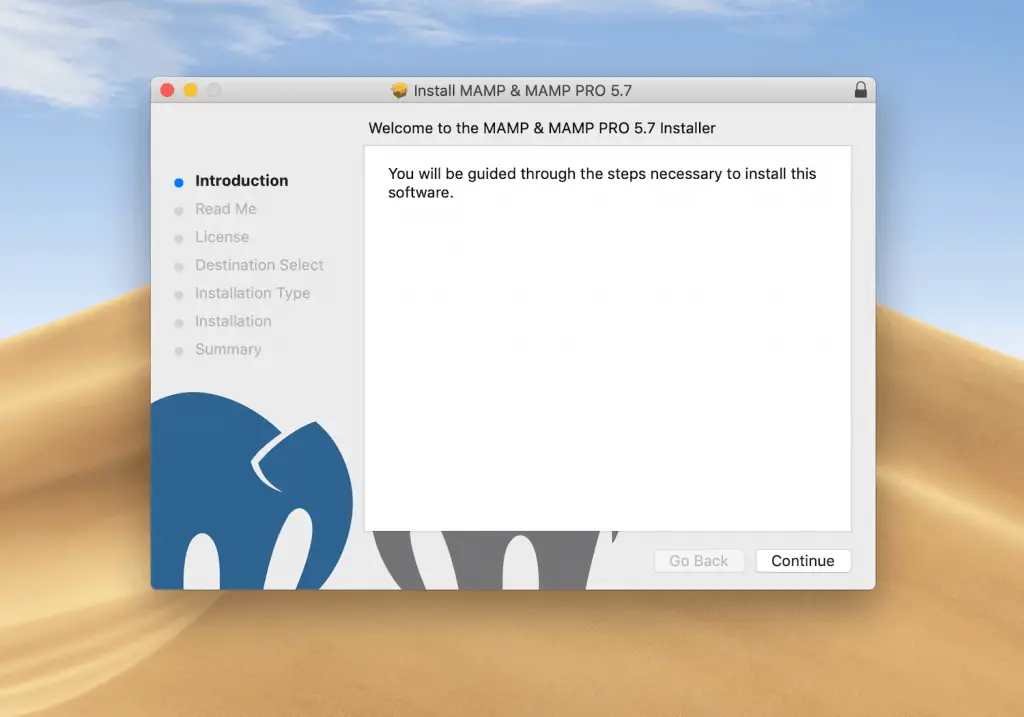
Step 2: Launch MAMP and start your server. An installation window will pop up. Select Continue and follow the series of prompts.
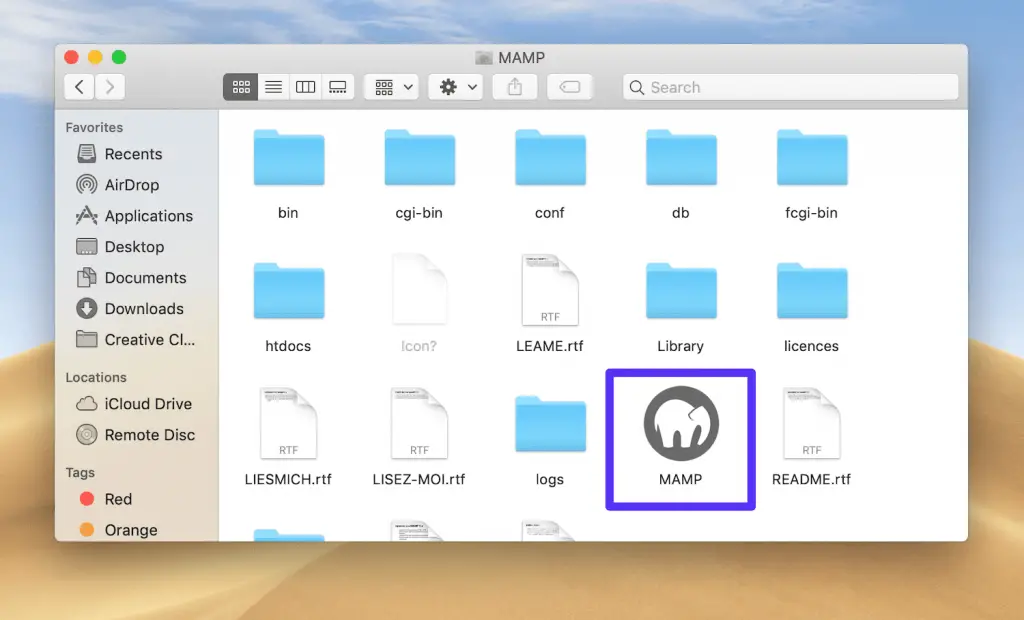
Next navigate to your applications and click on the MAMP folder. Click on the MAMP elephant icon to launch MAMP.
This will open a new window. Hit Start Servers.

Once the Apache and mySQL servers launch, MAMP will automatically open the WebStart page in your browser.
Step 3: Create Your Database and Update your User Information
Now it’s time to create a new database. On the WebStart page, select Tools > phpMyAdmin.
Once phpMyAdmin opens, click on the Databases tab. Name your database, and then select Create:
Next, you’ll need to update the MySQL database user credentials for the default account MAMP creates for you, as you’ll need them to complete the WordPress installation process. Navigate back to the phpMyAdmin home screen and click on the User Accounts tab. Then, click on Edit privileges for the account with the username mamp.
Select the Change password tab, enter your preferred password and hit Go.
You can then close phpMyAdmin.
Step 4: Install WordPress and Visit Your Site from Localhost
Visit the WordPress.org website and download the latest version of WordPress. Then unzip the ‘wordpress’ folder once it is finished downloaded. Right click on the folder and select Copy.
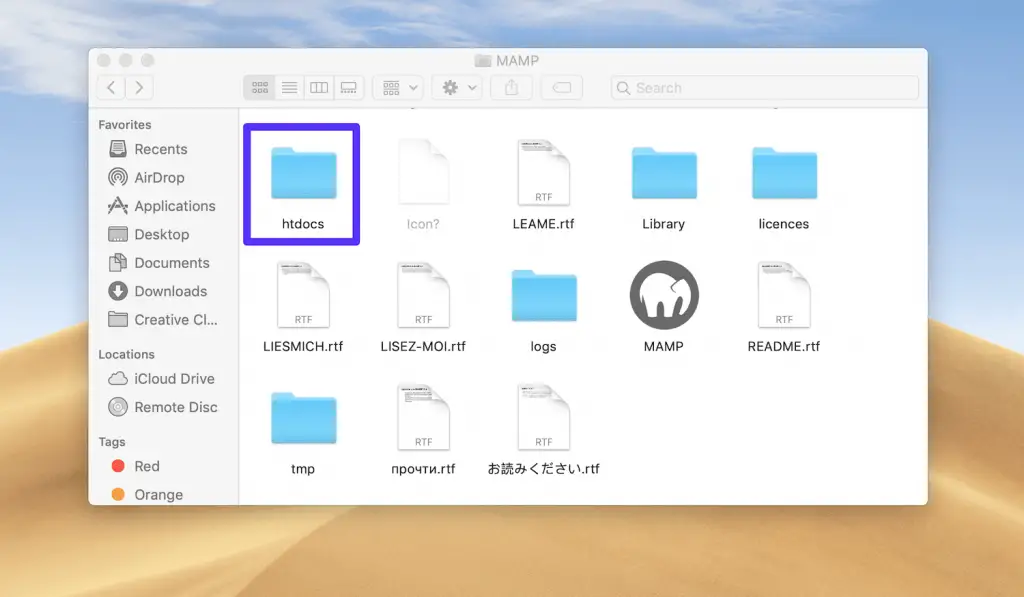
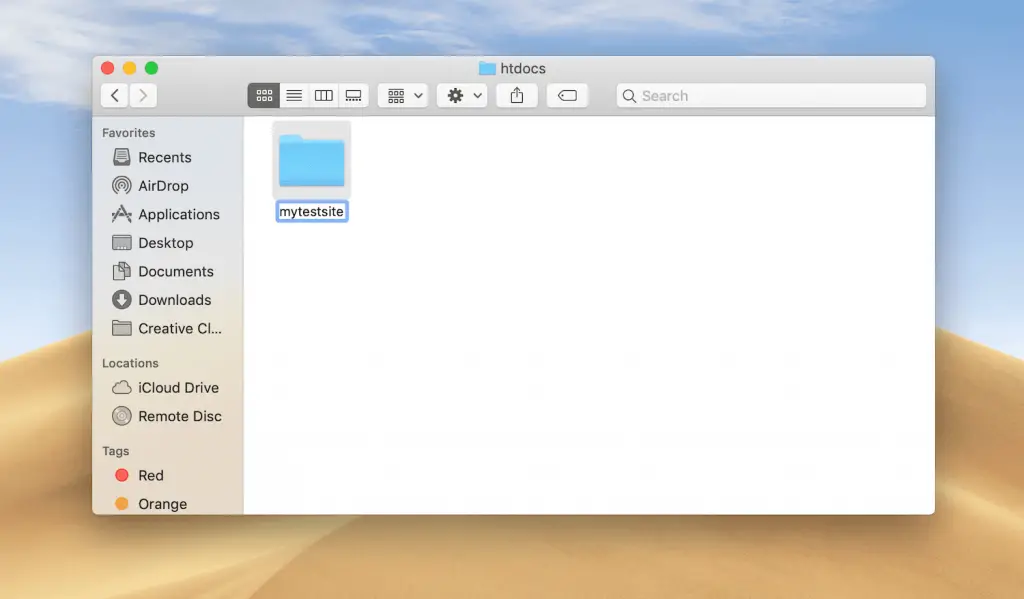
Navigate back to Go > Applications > MAMP on your computer, and open the htdocs folder:
Inside that folder, paste your WordPress folder that you just copied. We suggest renaming it to “mytestsite” or something similar.
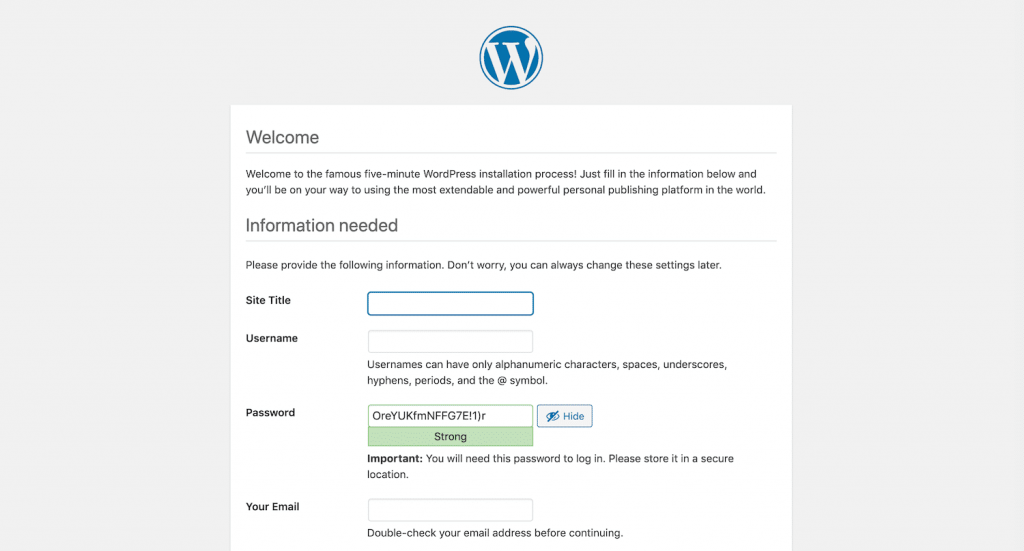
Then, browse to “http://localhost/8888/mytestsite” in a new tab. It will prompt you to input your database credentials, as well as name your site.
Once you complete the WordPress installation prompts, you’re all done! Start building our your first WordPress website!