
What is Lightsail?
Amazon Lightsail is a virtual private server that is perfect for simple web applications, websites, business software, and test environments. Lightsail is ideal for simpler workloads, quick deployments, and it is the easiest way to get started with Amazon Web Services (AWS). If you don’t have experience with AWS, Lightsail is the perfect solution in helping you to create and configure a WordPress instance.
What is Amazon Web Services (AWS)?
Amazon Web Services (AWS) is a secure cloud services platform that offers compute power, database storage, content delivery, and other functionalities to help businesses scale and grow. Millions of customers are using AWS to become more agile and to grow their businesses at lower costs. AWS is the world’s leading adopted cloud platform with over 200 fully featured services.
How to Launch and Configure a WordPress instance in Amazon Lightsail
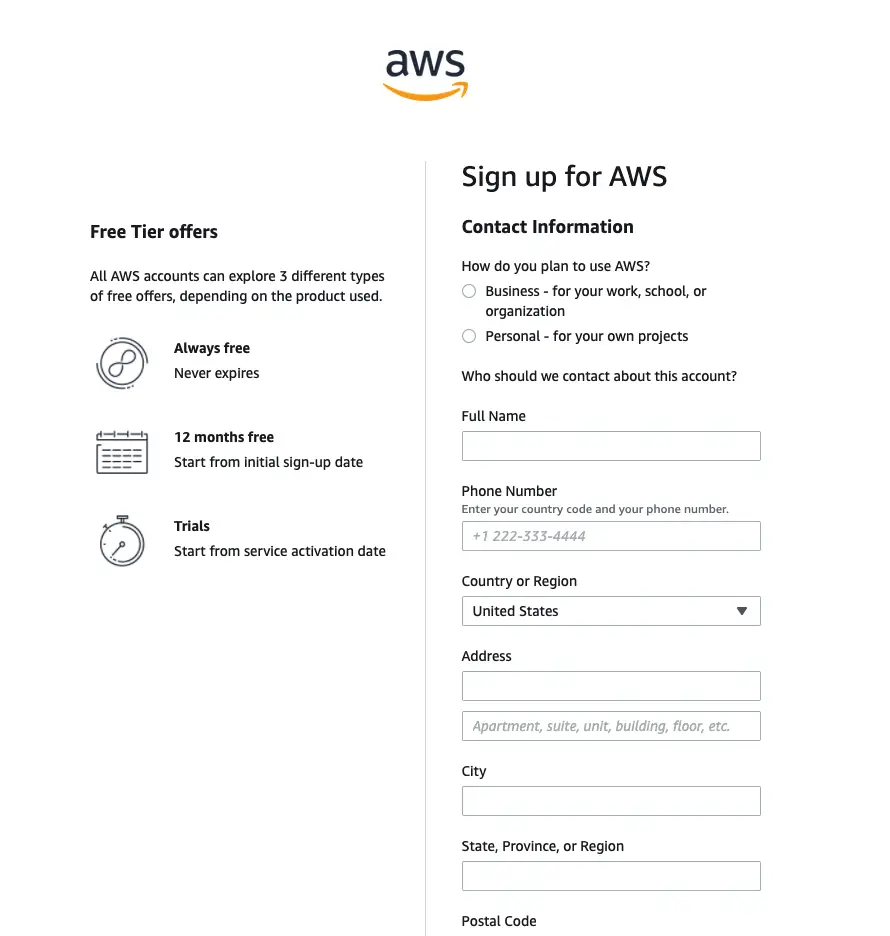
First, you need to start by creating an account and signing up for AWS.
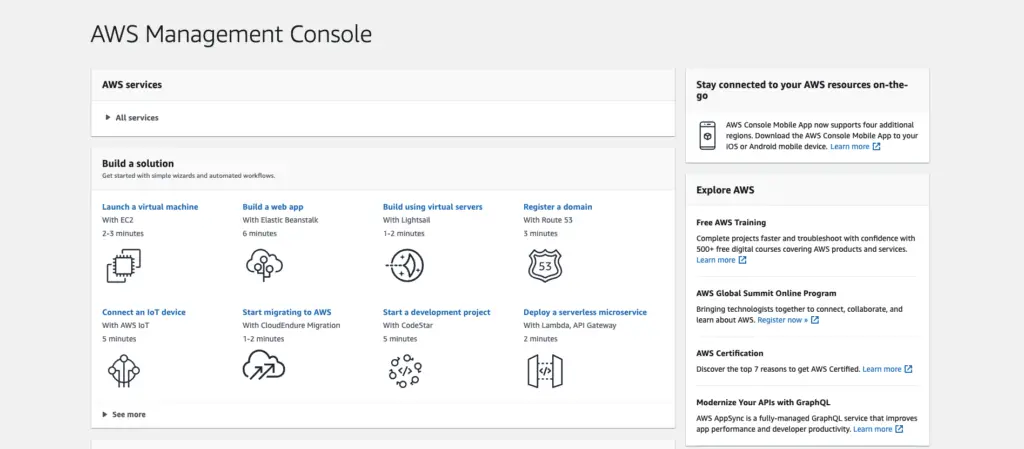
Once you create your account, you will have access to the your AWS management console.
Next, you want to sign in to the Lightsail console so that you can create a WordPress instance in Lightsail. You should see this greeting message welcoming you to Lightsail.
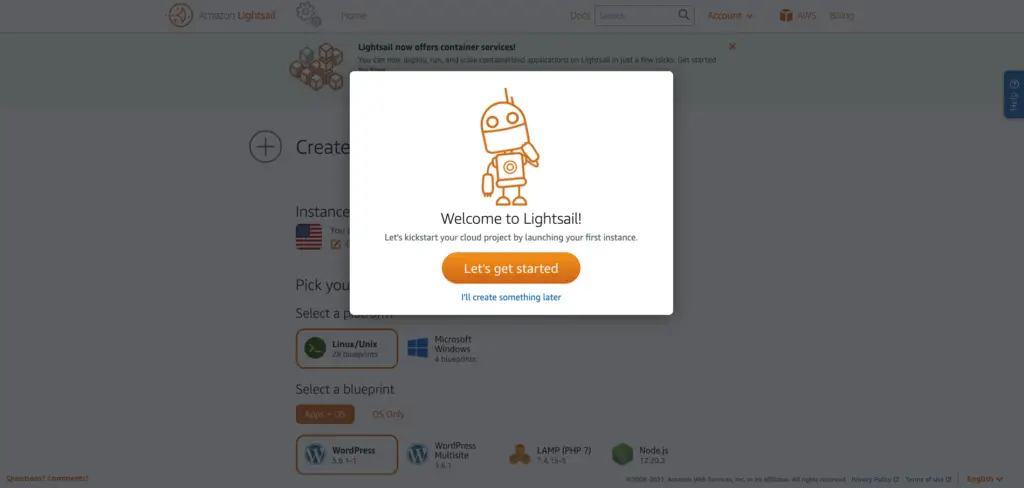
Go ahead and click on get started. You will see an instance tab that allows you to pick your location, instance image, and blueprint.
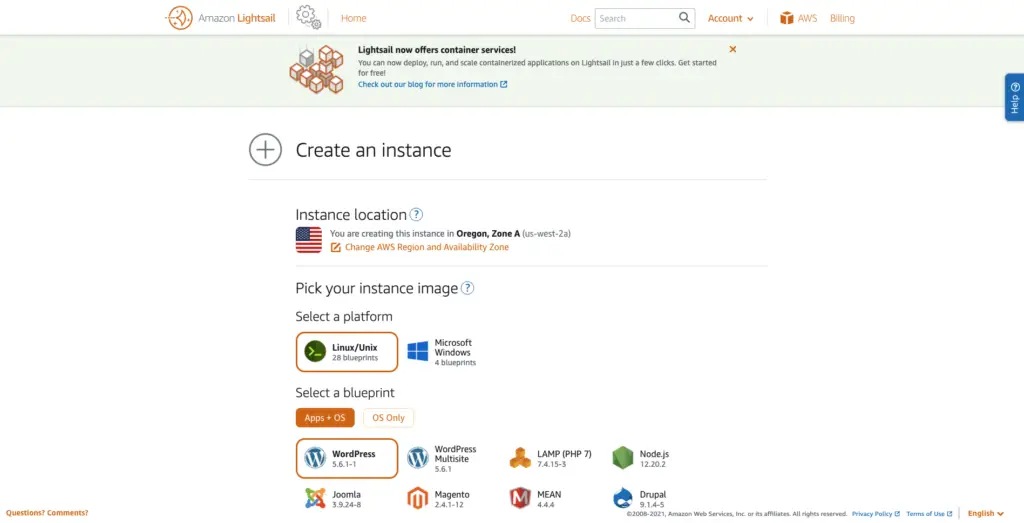
Make sure you select Linux/Unix for the platform and WordPress as the blueprint.
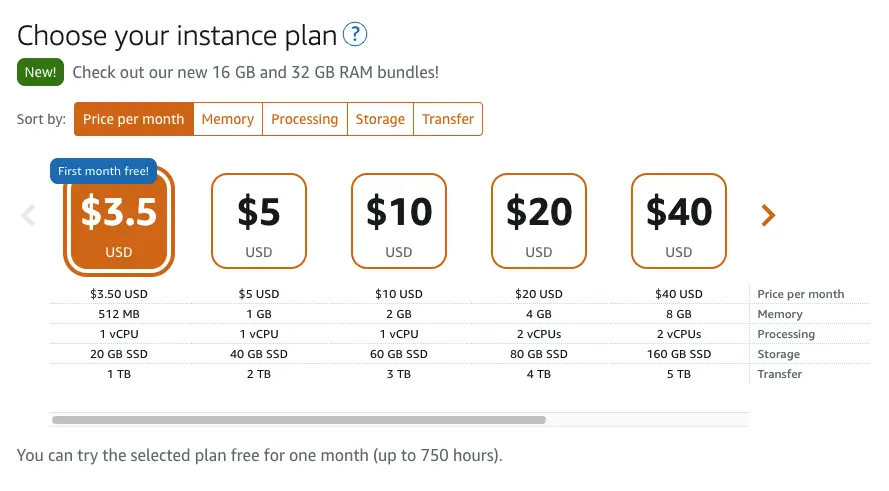
Next, you want to choose a paid instance plan. You can try the $3.50 USD Lightsail plan without charge for one month. AWS credits one free month to your account.
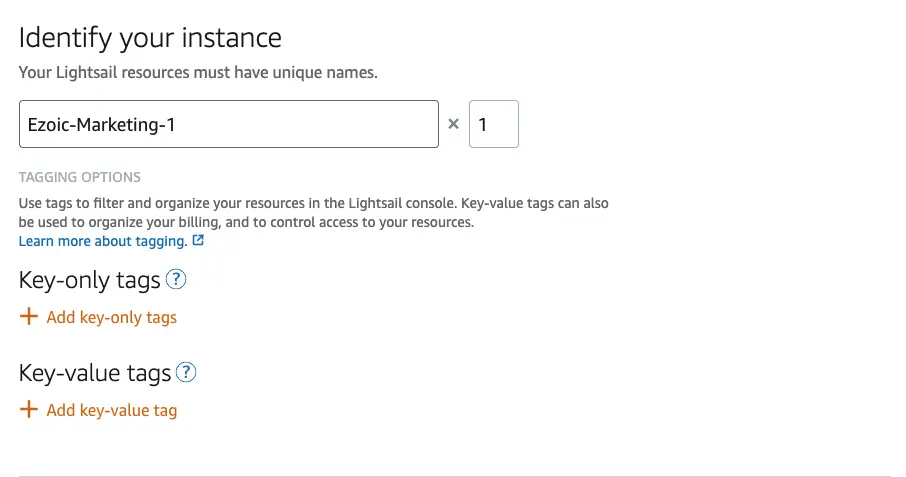
Under “identify your instance”, enter a unique name for your instance. The resource name must be unique within each AWS Region in your Lightsail account. Once you enter in a name, choose Create Instance.
Next, we want to connect our instance via SSH and get the password for our WordPress website.
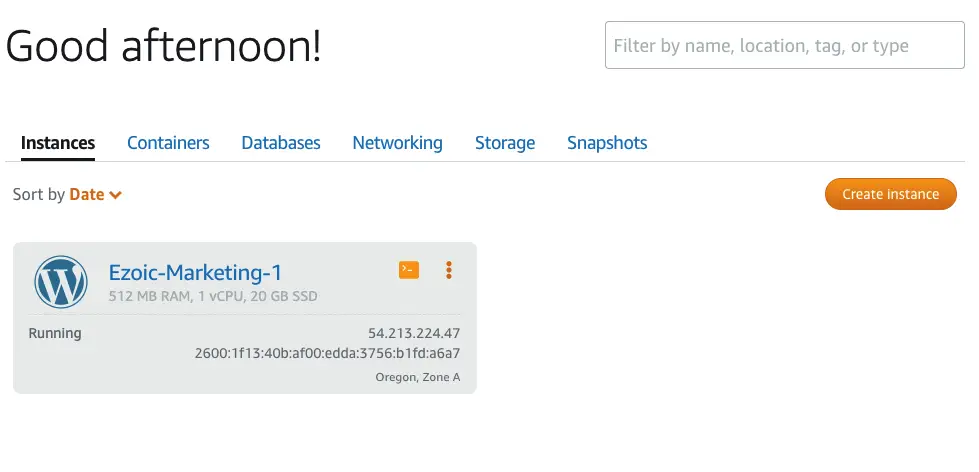
On the Instances tab of the Lightsail home page, click the orange SSH quick-connect icon for your WordPress instance.
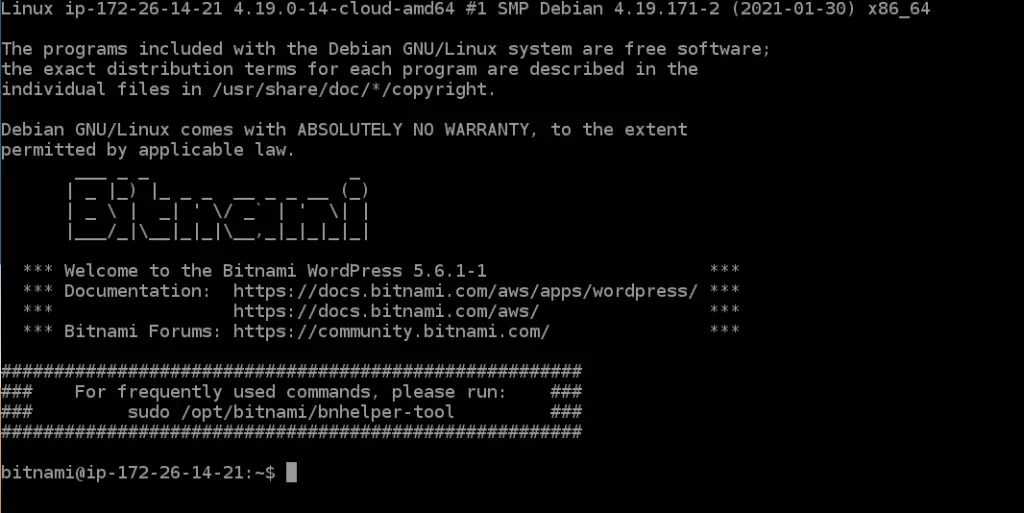
A browser based SSH client will open. Enter the following command to retrieve the default application password:
cat $HOME/bitnami_application_password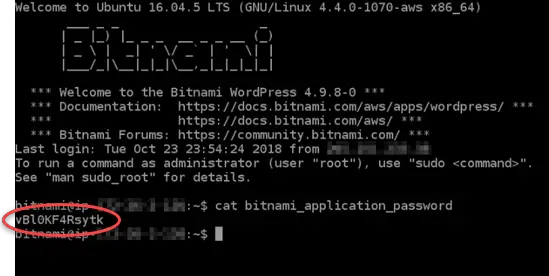
Make note of the password displayed after entering in the command. You will need this password to later sign in to the administration dashboard of your WordPress website.
Now that you have the password from the command, you can now sign in to the administration dashboard of your WordPress website. First, go back to your instances tab in the your Lightsail dashboard.
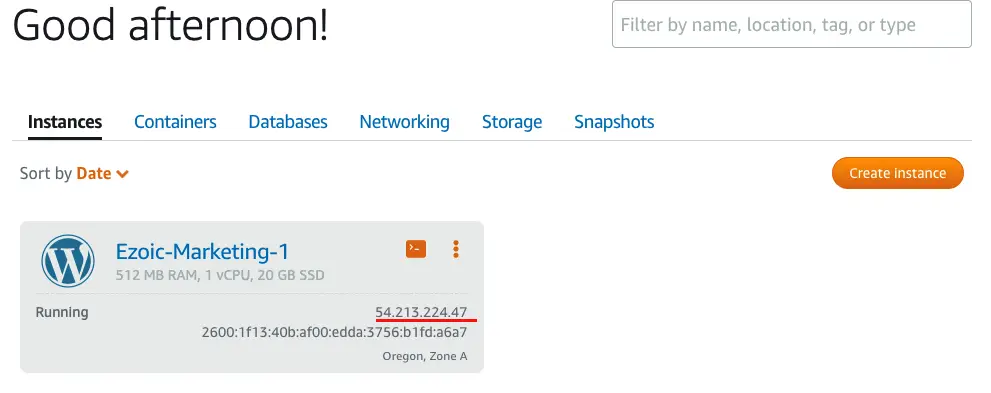
This number is the public IP address of your WordPress instance. Open up a new browser window and go to:
http://YourPublicIpAddress/wp-login.phpIn the address, replace YourPublicIpAddress with the public IP address of your WordPress instance.
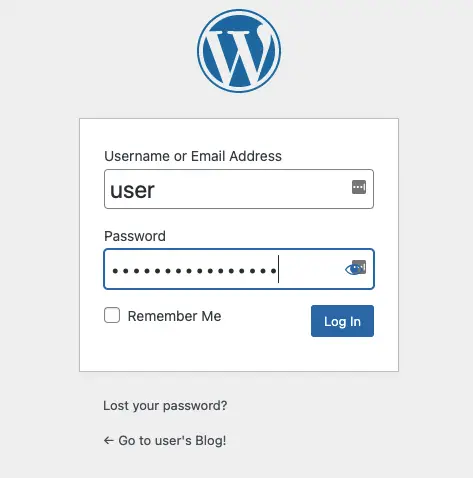
For the Username or Email Address, just enter user
In the Password field, enter the bitnami application password that you saved earlier from the browser based SSH client.
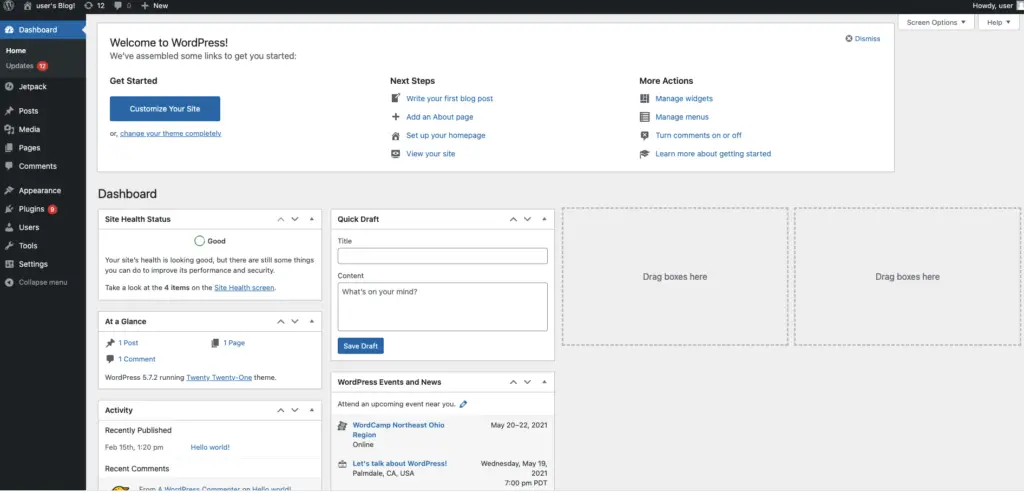
And just like that we are now able to sign in to the admin dashboard of your WordPress website.
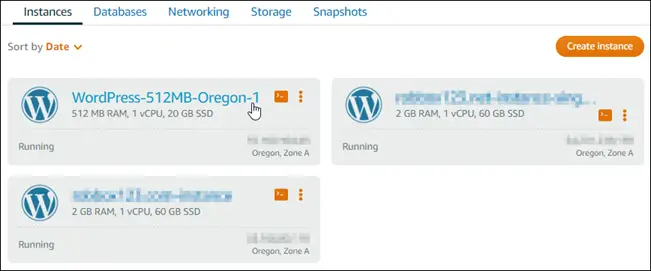
Next, go back to your Lightsail home page and go to the Instances tab. We need to create a static IP address and attach it our WordPress instance because the default public IP for our WordPress instance changes if you stop and start your instance. Changing to a static IP address attached to an instance will ensure that it stays the same even if you stop and start your instance.
On the Instances tab of Lightsail home page, click on your WordPress Instance.
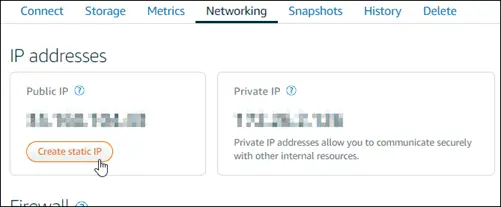
After you click on your instance, head over to the Networking tab and choose Create Static IP.
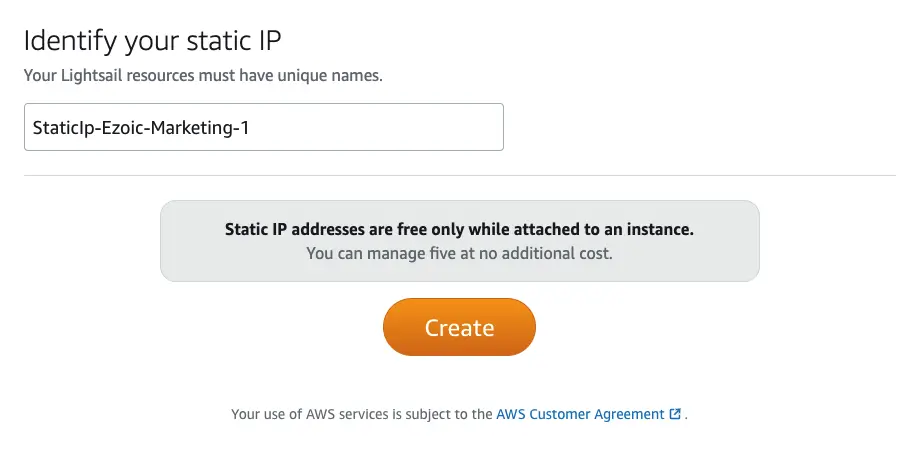
You will see the static IP location and the attached instance all pre-selected based on the instance we chose earlier.
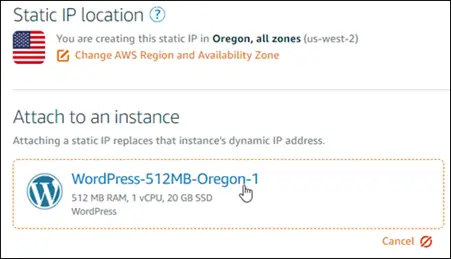
Name your static IP and then click on Create.
Once you head over to the Instances tab, you will see a new public static IP address that you can use to log in to user wordpress admin page.
Next, we want to create a Lightsail DNS zone and map a domain to our WordPress instance. We need to transfer management of our domain’s DNS records to Lightsail which allows us to manage more of our website’s resources using the Lightsail console.
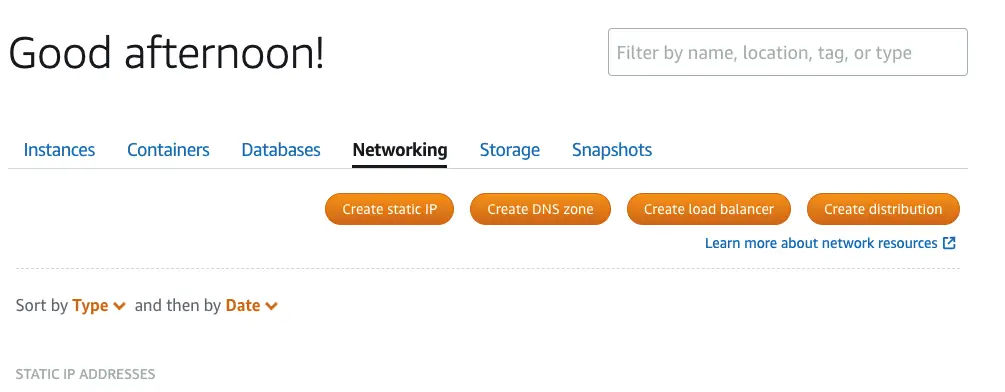
Go to your Lightsail homepage the Networking tab and click Create DNS zone.
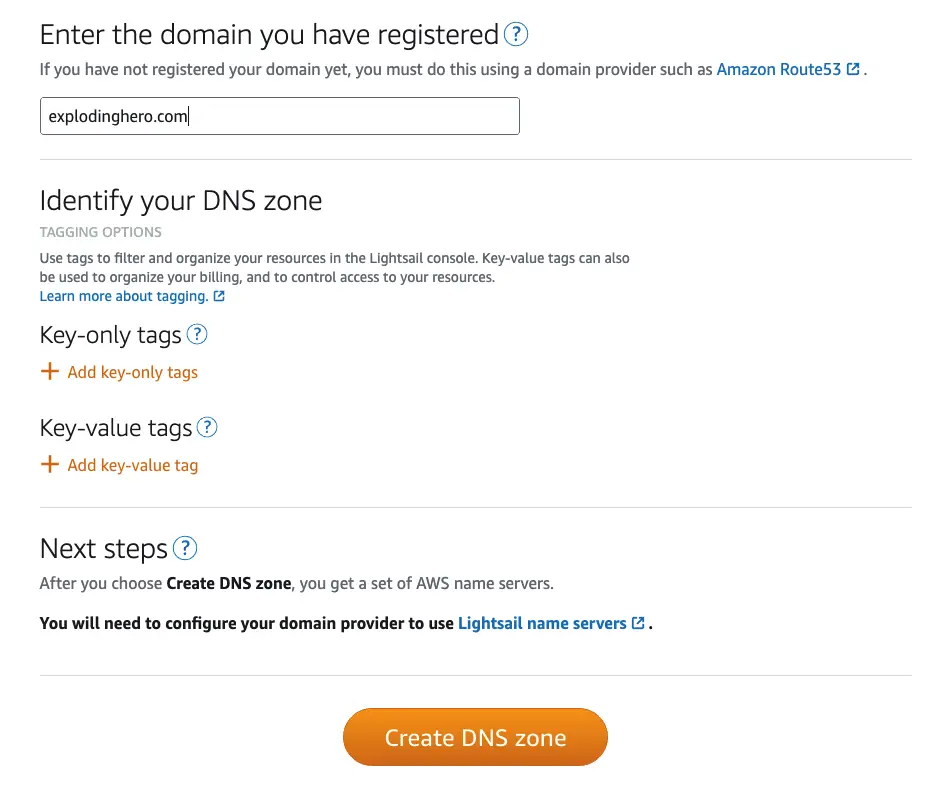
You need to register your domain and you must do this using Amazon Route53. Once you created your domain, enter your domain name into the field and click Create DNS zone.
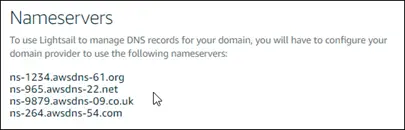
Once you click create, you will see this page with your registered domain
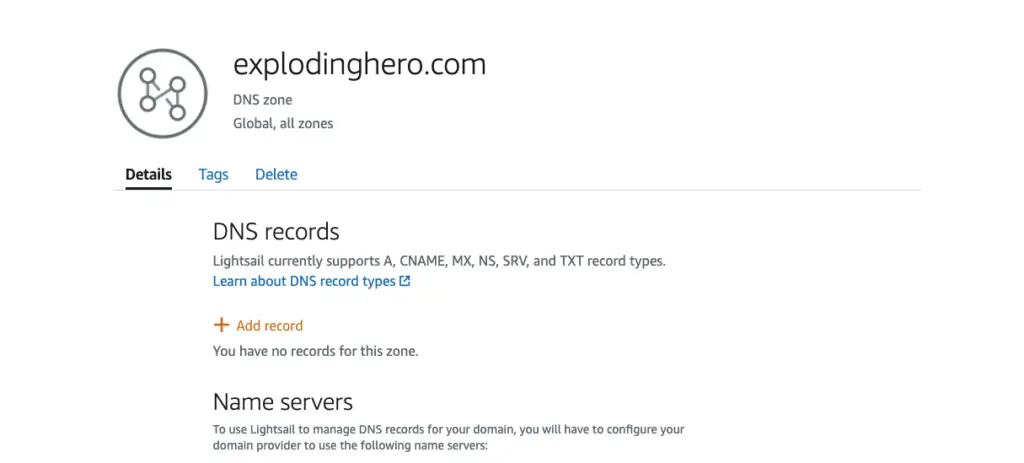
On the bottom of the page, you will see a list of name servers. Take note of the name server addresses listed because you will add these name server addresses to your domain name’s registrar to transfer management of your domain’s DNS records to Lightsail.
After management of your domain’s DNS records is transferred to Lightsail, click on Add Record because there is currently no record for this zone.
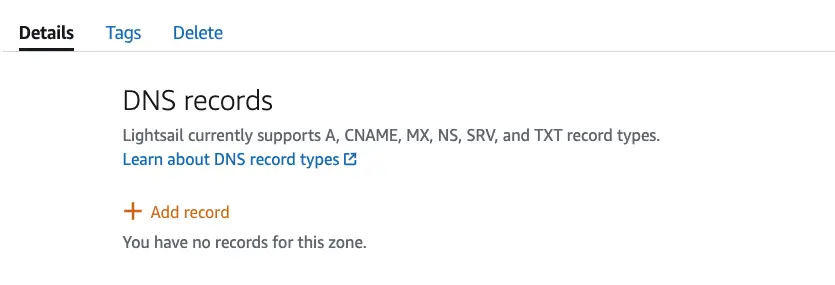
In the DNS zone for domain, choose Add Record.
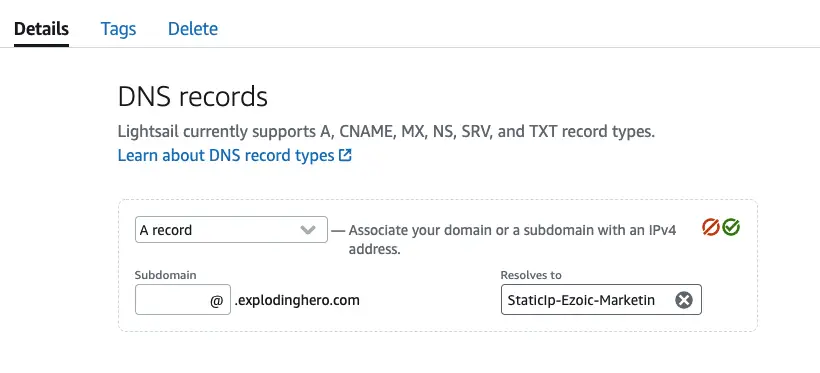
In the Subdomain box, enter an @ symbol to map the apex of your domain to your instance. The @ symbol just signifies that you are adding an apex record and not adding it as a subdomain.
In the Resolves to box, choose the static IP that you attached to the WordPress instance earlier and then click save.
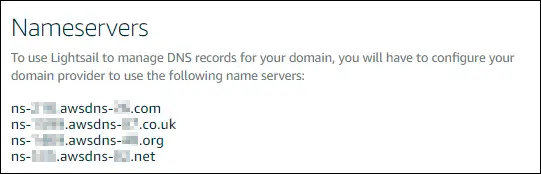
Allow some time for the change to propagate through the Internet’s DNS before the domain begins routing traffic to your new WordPress Instance. Underneath this you will see a bunch of nameservers listed from earlier.
Go back to your AWS Management console and go to your Route 53 Dashboard where you created a domain earlier.
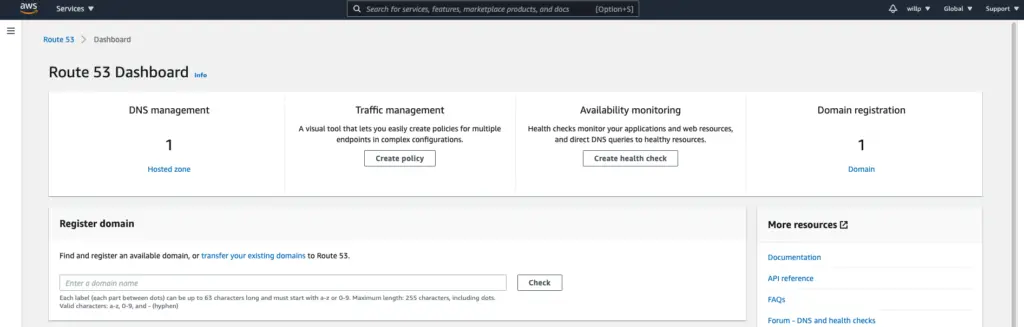
Click on your hosted zone and you will see the domain you registered earlier. Head over to the settings on left side and go to registered domains.
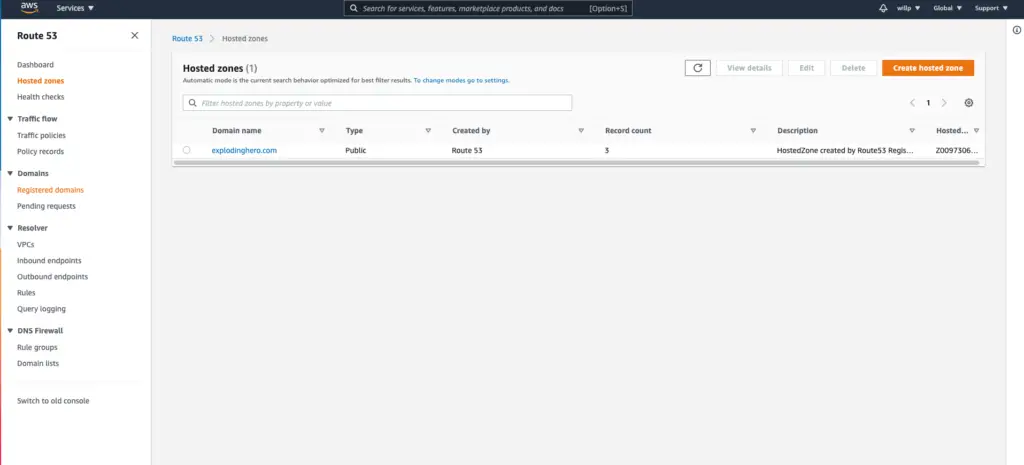
You will see an option to add/edit your nameservers. Remove the existing nameservers and add the nameservers from that list you saved earlier.

Save your changes and allow time for the name server change to propagate through the internet’s DNS. After that is finished, internet traffic for your domain should begin routing through the Lightsail DNS zone.
Cloudflare
Cloudflare is one of the world’s largest networks that empowers users to make their websites, apps, and blogs secure and fast. Cloudflare provides security by protecting your website from DDos attacks, data breaches, and phishing scams. Connecting your site with Cloudflare is very simple and we’ll be going through it step by step.
First, make sure you sign up for a free Cloudflare account.
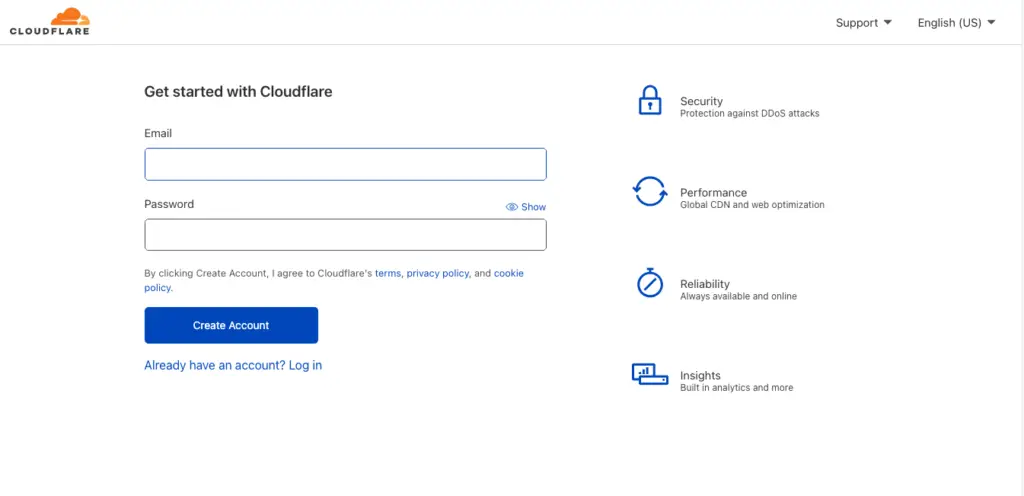
Once you create your account and sign it, you will then see an option that allows to add your site.
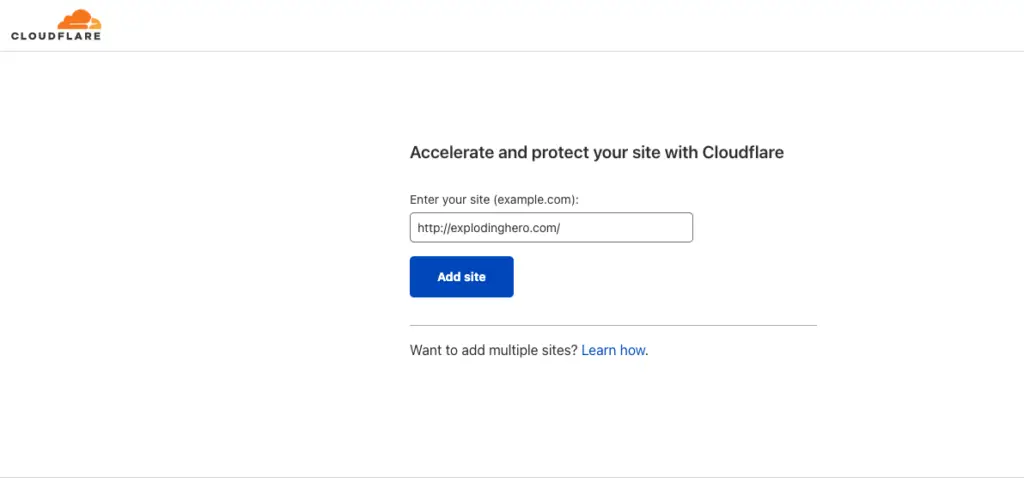
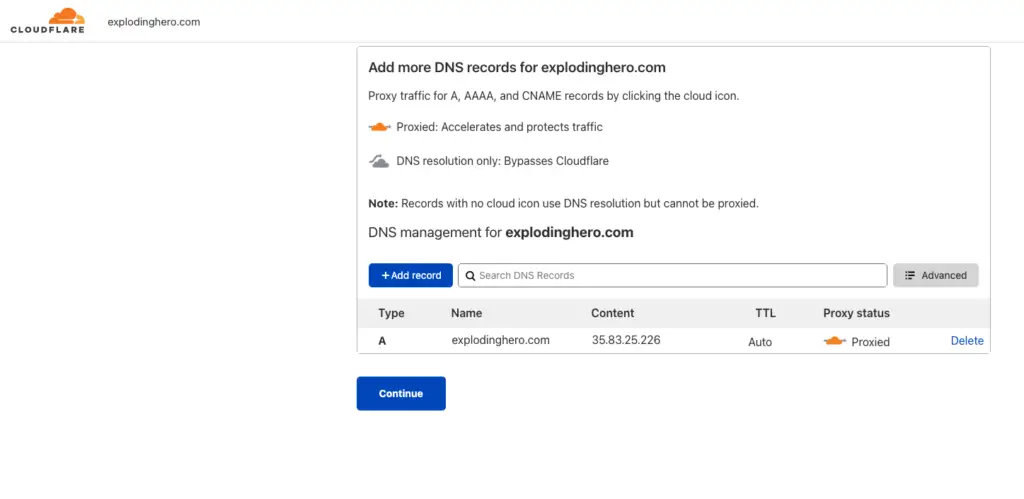
After adding your website, the next step is to point to Cloudflare’s nameservers. Pointing to Cloudflare’s nameservers is crucial in protecting your website.
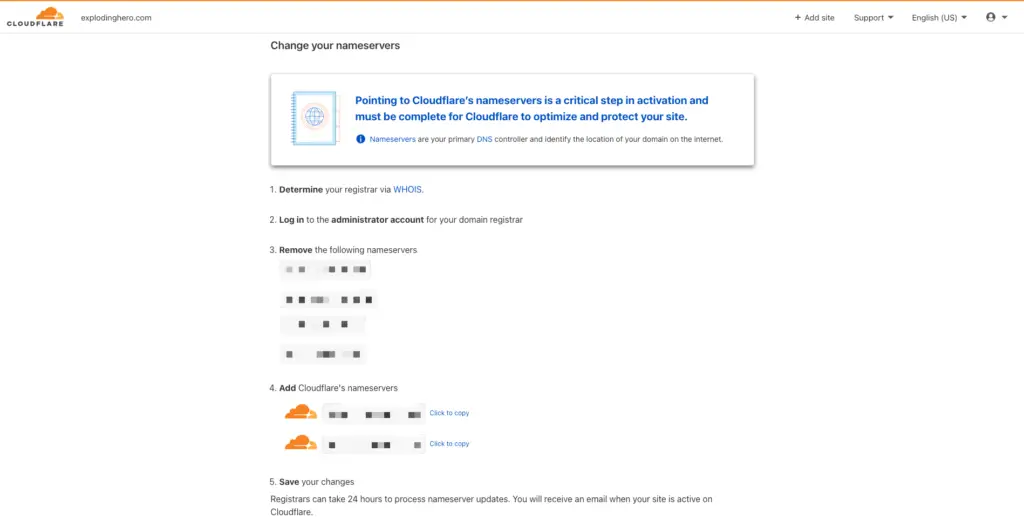
Go back to your AWS Management Console and go to your Route 53 Dashboard. Click on Registered Domains in the settings and click on your domain name for your website. You will then see the option to add/edit name servers just as we have done in the previous steps earlier.
Replace the name servers with the new name servers from Cloudflare.
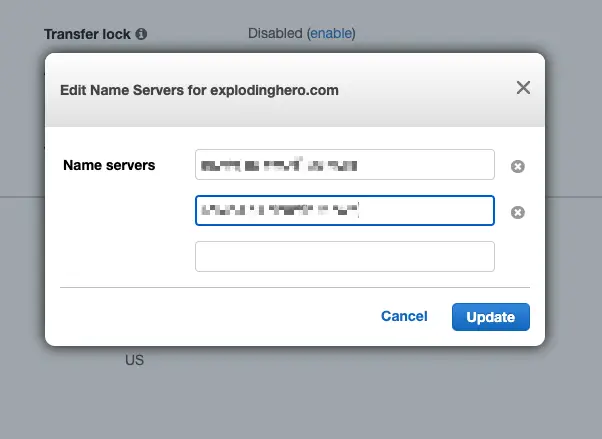
Save your changes and you will receive an email once your name servers are updated and active on Cloudflare. Keep in mind that registrars can take 24 hours to process the name server update. Once it’s updated you are all set and your website is now connected to Cloudflare!
Check out one of our articles on connecting to Ezoic with Cloudflare!
How to switch to Ezoic’s cloud integration to handle SSL for free
Ezoic is a certified Cloudflare partner and you can connect and point your site to Ezoic via Cloudflare in less than five minutes.