
What are web-safe fonts?
Web-safe fonts are fonts that can adapt and look the same across all browsers or devices. They are fonts that are pre-installed on a device or OS. Some examples of web safe fonts include Arial, Baskerville, Courier New, Serif, Sans-serif, Monospace, and several more. The huge benefit of using web-safe fonts is that the operating system automatically includes these font files, so there is no need to download additional font libraries. Using third party libraries can slow down your website, so switching over to web safe fonts is an optimal solution to speeding up your website. It’s important to use web-safe fonts because you want to make sure that the fonts you use are visible to everyone who visits your site. There are a ton of web safe fonts you can use to make your website design stand out and improve readability. However, web-safe fonts should not be confused with Web fonts.
What are web fonts?
Web Fonts on the other hand are fonts that are not pre-installed on a device and must be downloaded by the user’s browser before being displayed. You will find Web fonts embedded into web browsers and downloaded into a user’s browser through rendering and applied to text. A prime example of web fonts is Google Fonts which is one of the easiest sources to find web fonts. However, as discussed in another one of our articles on Removing Google Fonts, adding more libraries will slow down your page speed performance. Some themes will include Google Fonts automatically in their settings on top of the already included web-safe fonts. However, Google Fonts isn’t inherently supported by our operating system so the font library isn’t considered web safe fonts by definition. These extra font libraries are very easy and safe to work with but they add external requests and will increase the page load times on your website. With Google Fonts theres an external request to look up fonts.googleapis.com to grab the CSS file as shown below.

How do I download Web Safe Fonts?
The answer is you don’t have to. You don’t have to worry about downloading them because they’re already supported by every operating system. All you need to do is add a small code snippet inside the custom CSS of your customizer settings. In this guide, we’re going to show you how you add custom CSS in the WordPress customizer to test and style with the Web Safe Fonts on your site.
Adding custom CSS
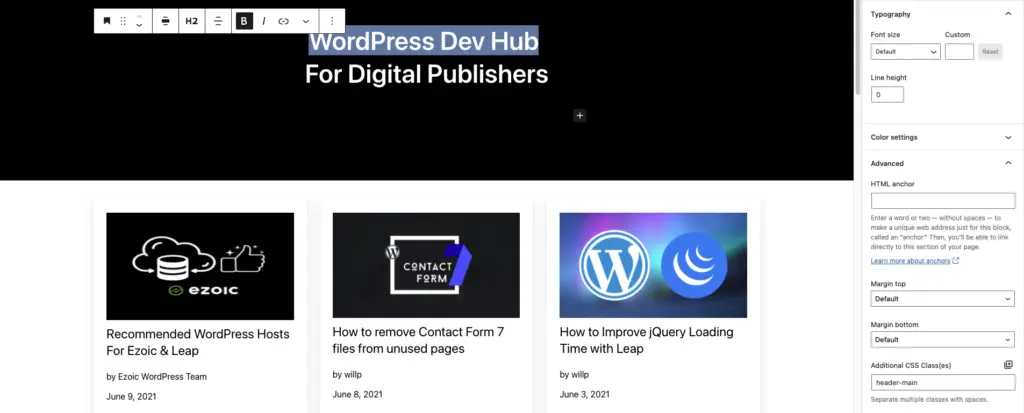
Testing out CSS on an element is very simple. You can test a font style on any text of any website in the world. All you have to do is hover over the element and right click to inspect the element. Check out the video below to see a step by step guide on using the inspection tools to test the different font styles with CSS. In our example, we are targeting the header for WordPress Dev Hub. In order to use inspection tools, right click on the element and you will see the element’s current styles and classes.

In the video, we targeted the WordPress Dev Hub Header and tested out Arial, Baskerville, and Courier New as possible web-safe fonts. We also saw that the element for WordPress Dev Hub has a class called ‘header-main’ which we added in ourselves.
Classes can be used on any HTML element and are used to select and access specific elements with CSS. Some elements have the same class so you want to make sure you target and set a unique class or ID if you want the CSS to only affect one element.
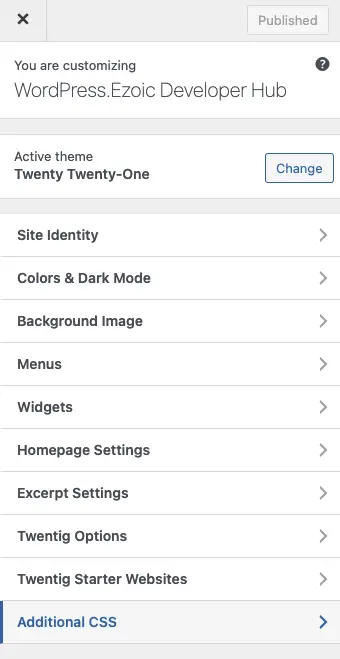
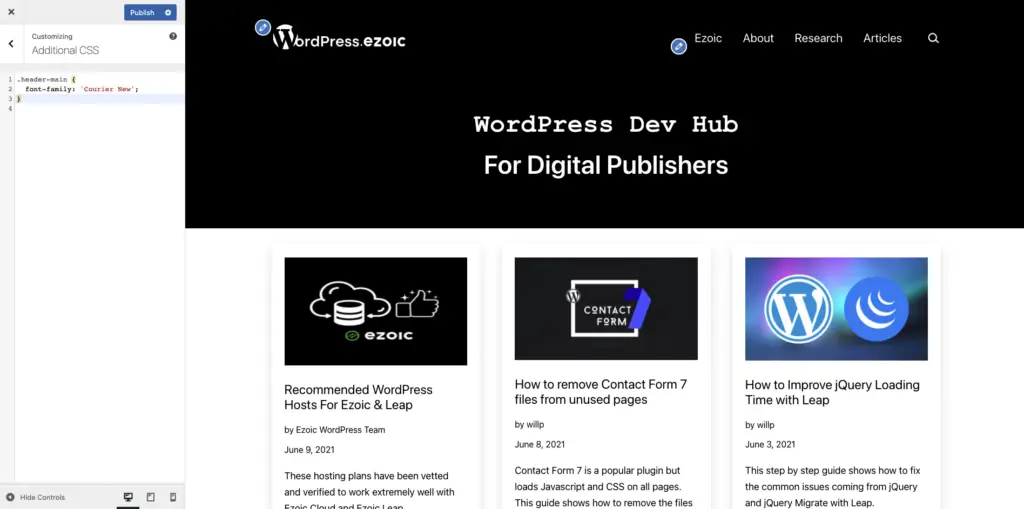
Head over to the your WordPress website’s admin page and go to Go to Appearance > Customize > Additional CSS. In our example, we’re going to be looking at the Twenty Twenty One theme customizer settings.
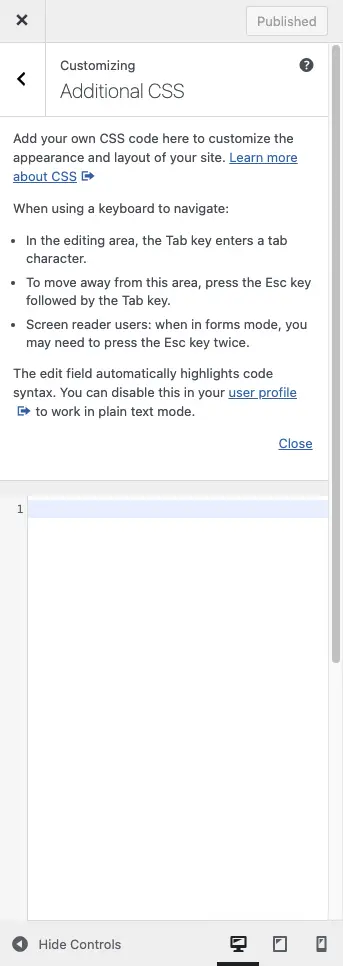
Click on Additional CSS and you will see a blank code editor in the tab. In this tab, we’re going to be targeting the CSS classes of the heading or paragraph we want to customize with web safe fonts.
Target the class and add the font style that you like. In our example, we are going to target the header-main class and set the font-family to ‘Courier New’. Once you add the CSS, click publish and you will see the CSS change!
Code Generator with Web Safe Fonts
If you’re not comfortable adding code into your WordPress customizer settings, we created a code generator with some of the best web-safe fonts all included. All you have to do is input the class name of the element you want to target and then pick the font style that you want. As shown in the video earlier, you can find the class name by right clicking an element on the page and inspecting the element. Just remember some elements have the same class so you want to make sure you set a new class if you want the CSS to only affect the targeted element. Otherwise, your CSS change will affect all elements with the same class. Once you input the class name and select the font, our code generator will give you the code for you to copy. All you have to do is paste our code in the Additional CSS in customizer settings and you will see the font style changes on your site.